
A common misconception with solar cooking is that you can't do it in the winter time. Not true! If there is enough sun to cast a shadow, you can cook in your solar oven
The biggest changes in fall and winter are the lower sun angle and the shorter window for cooking. A few adjustments can help you make the most of both.
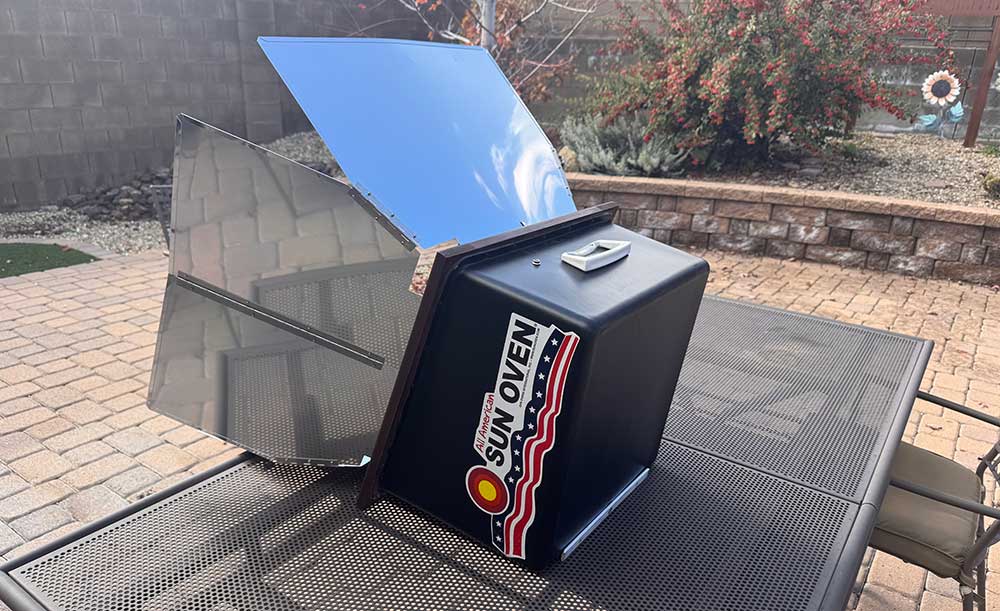
That said, as long as the sun is strong enough to cast a shadow, cooking with a Sun Oven is effective. People have cooked with their solar ovens in temperatures as low as 10 below zero with no problem - because they still had sunlight.
According to Sun Oven International, a Sun Oven was once shipped to Antarctica, where the owners cooked for several weeks at temperatures as low as 40 below zero.
These tips apply to many box-style solar ovens, with setup guidance geared especially toward the Sun Oven and My Solar Oven. Check your model’s instructions before trying a different cooking position or anchoring method.
Check the sky
Use the shadow test as a quick first check. If the sky is overcast and you can’t see a distinct shadow, save the solar oven for a clearer day. Even thin clouds or haze can reduce the heat, so preheat the oven with the glass door latched and check the built-in thermometer before putting food in.
For your first winter cook, try a peach cobbler or a simple almond cake or even some eggs on toast. These are recipes that take less than an hour.
Cook around the middle of the day
In summer, you might have enough sun to start a dish in the afternoon and serve it for dinner. In winter, plan your cook around midday, when the sun is highest.
Your usable cooking window depends on where you live, how clear the sky is, and when nearby trees, fences, or buildings start casting shade. Check your spot ahead of time, especially if you’re planning a longer cook.
If you're in a northern latitude (i.e. Washington, USA, Canada, Scotland, for example) you will have a much shorter cooking window than those living in southern latitudes.
Tilt the oven toward the low winter sun
Extend the rear adjustment leg as needed to aim the oven toward the sun. Open and secure the reflectors, then use your model’s alignment guide to fine-tune the angle.
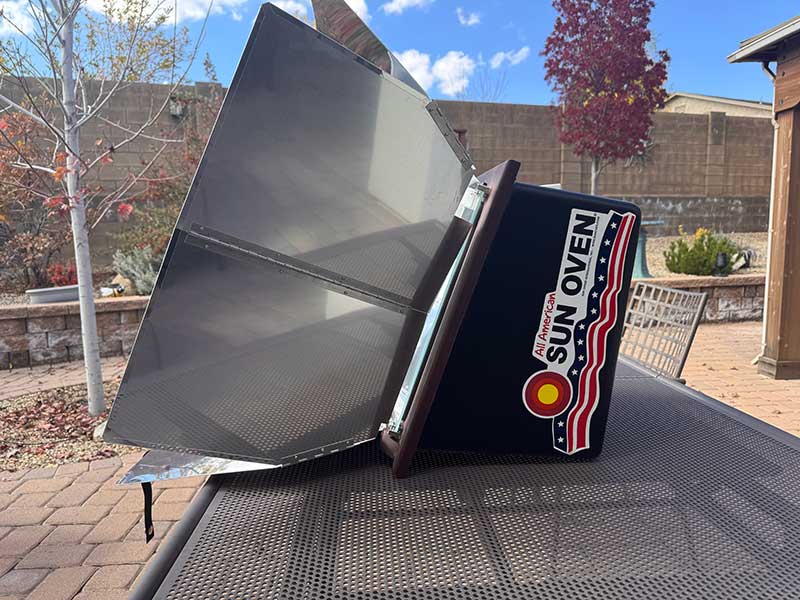
Look for the E-Z Sun-track indicators or the Quick Align tool, depending on your model. Once you’re cooking, check the alignment every 15 to 30 minutes and turn or tilt the oven as needed.
If the rear leg reaches its limit and the oven still needs a steeper angle, some models can cook while resting on their back. The Sun Oven and My Solar Oven can.
If your model supports this setup, start with the oven empty. Lock the reflectors open, rest the back of the oven on a firm, stable surface with the carrying handle at the top, and make sure the rack and cookware sit level before you start cooking. The built-in thermometer may read upside down in this position.
Keep the oven steady on breezy days
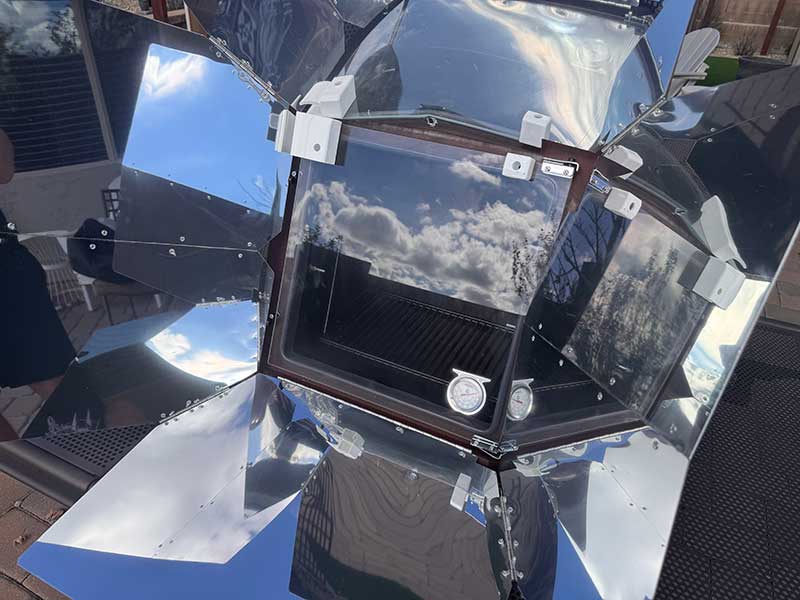
The T-Leg is designed to be staked down to add support to the Sun Oven for windy days. Use the included stakes to secure the Sun Oven against the occasional gust of wind. Additionally, the reflectors have a notch with a thumbscrew that locks them into place. As long as the oven is staked into the ground, and the reflectors are locked, the Sun Oven is wind-proof up to 35 MPH.
If it’s windier than 35MPH, you may want to not use your Sun Oven. It may be time to cook indoors.
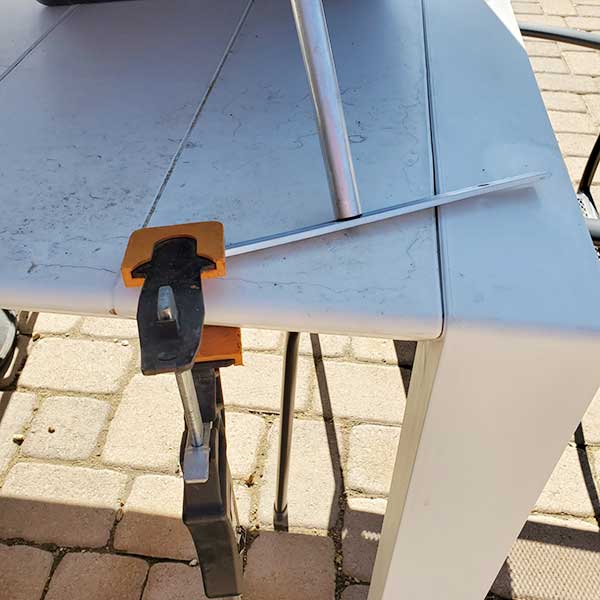
If you have your Sun Oven on a table during a windy day, you can use woodworking clamps (i.e. c-clamps) to secure the T-leg to the table
Have an indoor backup
Keep an eye on the oven temperature as the afternoon goes on. If clouds move in or shade reaches the oven before the dish is done, transfer it promptly to a preheated indoor oven and finish cooking.
For meat and poultry, use a food thermometer to check doneness. The built-in thermometer measures the air inside the oven, while the food thermometer tells you whether the center has reached a safe temperature. For chicken, that’s 165°F.

Leave a Reply